-40%
Pro Car Headlight Lens Restoration Repair Kit Polishing Cleaner Cleaning Tool
$ 5.27
- Description
- Size Guide
Description
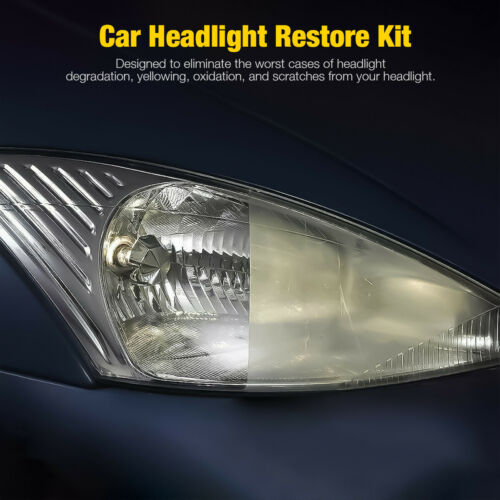
Features:The Perfect Restoration Tool: It is suitable for restoring dimmed, faded, scratched or oxidized headlight shades, a good tool set for the restoration of headlights, taillights, fog lights and directional lights. Besides, the boat windows, helmet visors, motorcycle windscreens, snowmobiles, etc., can also be applied.
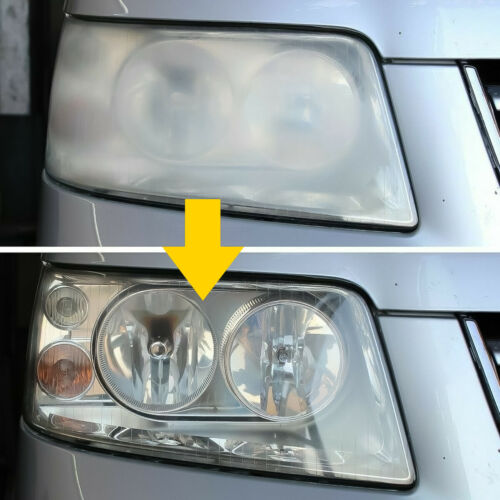
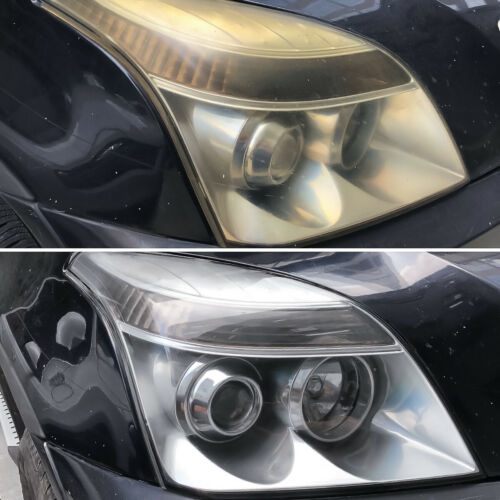
Improve Visibility: The use of specially designed polishes and sealants can provide deep cleaning for yellowed and foggy headlights, help restore the transparent appearance, and you can have clear night visibility again.
Simple Operation: You can repair the turbid and dim lenses of the headlight in only about one hour and four steps, and the removing of slight scratches or cracks will be more convenient. What’s more, this package can restore the lenses of the two headlights, saving you money, very practical.
How to Use:
Step 1: Preparation
Clean the headlight lens with water and cover the area around the lens with tape to prevent the nearby paint surface from being scratched.
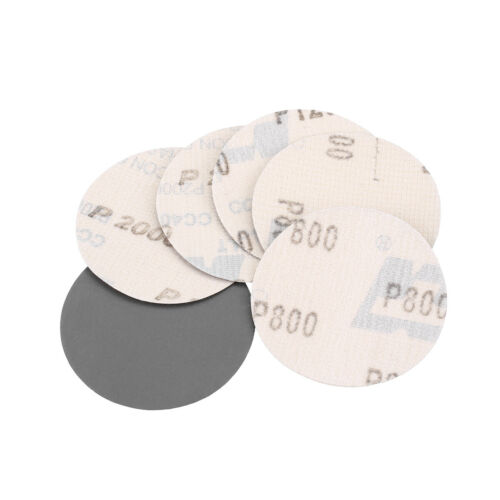
Step 2: Sanding (800P→1200P→2000P)
Wet the sanding disc and fix it on the backing plate. Use three different sand grains to polish three times, each lasting 2-3 minutes, and wash the headlights with water continuously. Repeat three times to completely eliminate the serious yellowing, fading and corrosion problems.
Notes:
The lens should be wet during the whole process; the order of using the grinding wheel: 800P→1200P→2000P. Failure to do so will result in failure to restore.
Step 3: Polishing
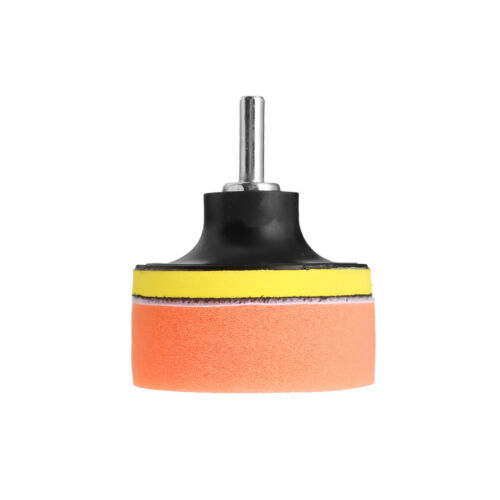
Put the orange sponge disc on the backing plate and apply polishing paste to polish the lens until the gloss returns to its original state.
Notes: For better results, please use an electric buffer or polisher. If it is polished by hand, it should be polished clockwise not less than 200 turns.
Step 4: Maintenance
Use the white sponge tray provided in the kit to apply the protective liquid evenly on the surface of the lens. After applying, leave for 10-15 minutes to allow the liquid to flow evenly, and then immediately dry it under direct sunlight (1 to 2 hours is recommended.) Otherwise , due to its viscosity, the protective liquid will adhere to dust and other dirt, thereby affecting the brightness of the headlights.
Notes:
1. When applying the product liquid on the headlights, be sure to avoid sunlight (important).
2. Please clean the headlight lens and make sure the lens is dry before the maintenance procedure is completed. Please do not wash the car within 24 hours after the operation is completed.
Specifications:
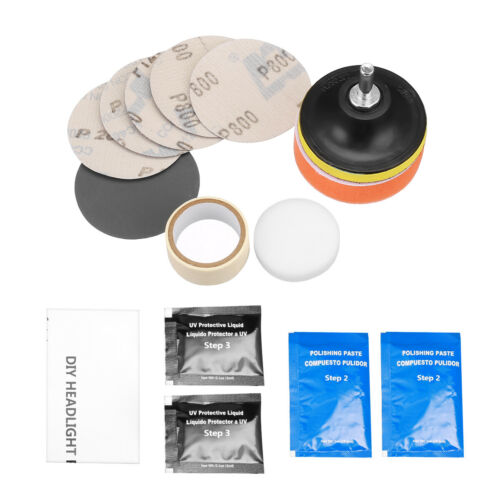
Quantity: 14Pcs/Set
2 x P800 Sanding Discs
2 x P1200 Sanding Discs
2 x P2000 Sanding Discs
1 x Orange Sponge Disc
1 x White Sponge Disc
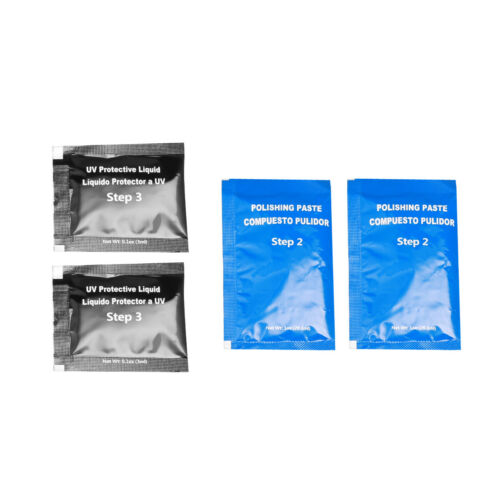
2 x Bags of Polishing Paste
2 x Bags of Protective Liquid
1 x Masking Tape
1 x M10 Backer Pad
1 x Adapter
